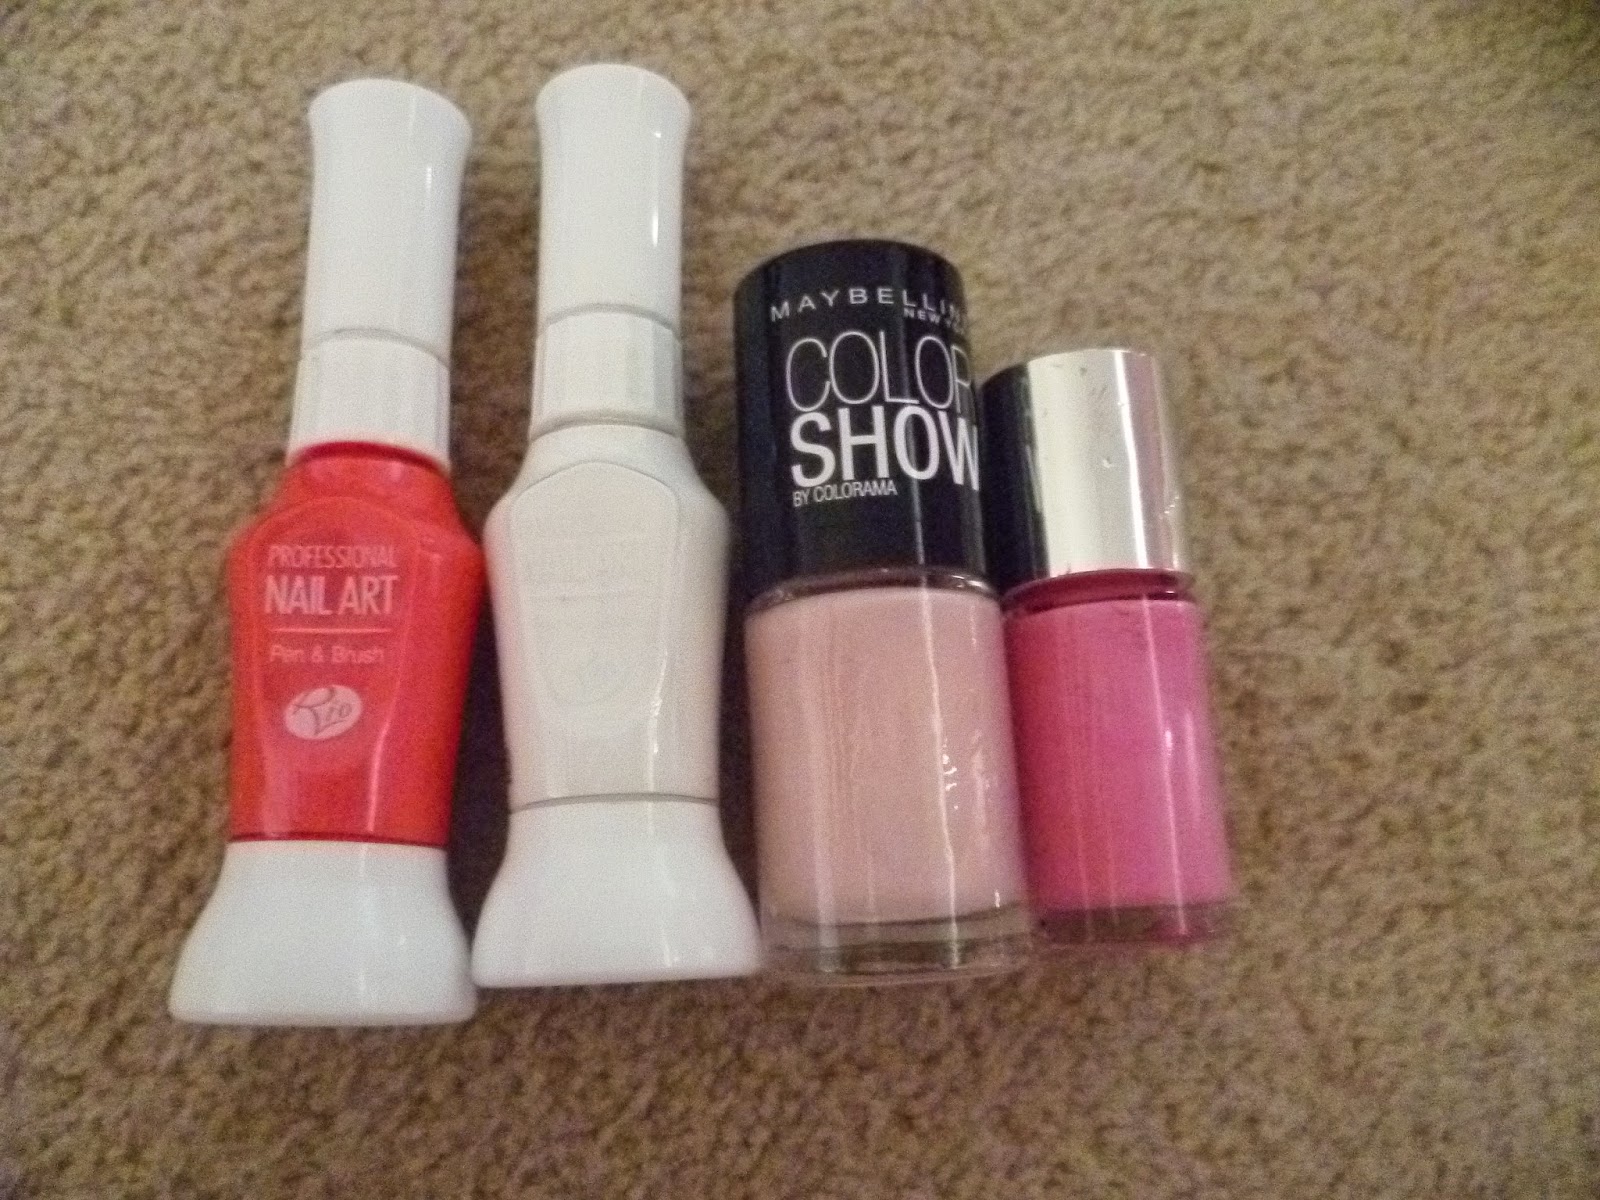
Saturday 13 December 2014

Ugly Christmas Jumper Nails

Ugly christmas jumper nails! 


You will need:

  • Red polish
  • white polish/pen/brush
  • Glitter polish


1. Paint all the nail red.

2. For the thumb, do two straight lines across the base of the nail. then fill with a zig zag line.
Do the reindeer by doing a rectangle for the body and adding the legs, head and other details.

3.Copy the design of the index finger.

4. For the middle finger, paint a triange of glitter on the bottom of the nail. Then do a white line along the edge of the glittter. Add more flicked lines above it.

5. For the snowflake, start with a Y shape and add two more lines in the larger gaps. Then add 4 smaller lines coming out of each one. 

6. Copy the design of the little finger.


Christmas Nails!

 Its finally close enough to christmas to start doing festive nails! 

You will need:

  • white
  • black
  • brown
  • red
  • green
  • a few other colours of your choice

1. Paint the base colours. Thumb-white, Index-red, Middle-Gold, Ring finger-Brown, Little finger-green.

2. For the thumb nail, paint a brown face shape, and add the details for the raindeer.

3. For the index finger, paint diaganol white stripes.

4. For the middle finger, make the fairy lights by doing a 
wavy black line with different coloured bulbs coming off it.

5. For the Ring finger, make the christmas pudding by painting a white wavy stripe across the top. Then do two tiny green lines at the top for the holly leaves, and a red dot for the berry. Then do black dots on the brown. 

6. Do red stripes on the little finger nail. 


Bee Nails

Bee nails! This probably would of been better in summer instead of december but oh well :)

You will need:

  • Blue polish
  • Black polish
  • yellow polish
  • white polish


1. Paint all the nails blue.

2. Paint the bee on the thumb nail and black dotted lines on the others, but leaving the ring finger.

3. On the ring finger paint two chains of yellow flowers, connected by a white line.

4. Add small yellow flowers to the rest of the nails.


Tuesday 25 November 2014

Glitter Patterns

For this you will need:

  • Purple polish
  • White polish
  • Glitter polish
  • A small brush


1. Paint your thumb and ring finger nails white, and you index and little finger nails purple. Then paint your middle finger with glitter, using a few layers.

2. Using the brush draw 3 or 4 silver stripes across the ring finger. Then draw a small purple heart. 

3. On the thumb nail, draw 4 lines of purple dots going across the nail, starting from the top corner. Then fill the gaps with glitter dots. 

4.If you chose, do a thin line of glitter over the two purple nails.

Stripes and Hearts


For this, you will need:

  • 3 shades of pink
  • white
  • glitter polish
  • heart stickers


1. Paint 3 white lines across your little finger, middle and index finger nails. 

2.Fill in each section with each shade of pink, starting with the palest on the index and little finger and starting with the darkest on the middle finger.

3.Go over the white lines again, and then draw a small white heart. 

4. Paint the ring finger in the darkest shade of pink and stick 3 different heart stickers on then.


5.Paint your thumb nail the lightest shade of pink
 and then copy the design below. It is similar to the 
pink manacure i have done previously.
Paint a pink arrow around the front and cover with glitter. Then do a line of white dots around the top.


Thursday 13 November 2014

Purple & Gold

 This is a purple and gold design with different patterns and a flower design.

You will need:

  • Dark purple polish
  • Gold polish
  • A small brush


1. Paint  the middle finger nail gold and all the others purple.


2. Paint two gold lines across the thumb nail, and the two up the nail, curving at the ends.


3.On the other 3 purple nails, paint some flick/lines coming out of a corner of the nail like the photo. 


4. Paint a purple flower on the gold nails, and surround it with dots.


Blue and White Snowflakes


This is a winter themed nail done on the toe nails though it can be done on the fingers.


You will need:

  • White polish
  • Light blue polish
  • A small brush


1. Paint all nails blue

2.On the big toe, or the ring finger if it is done on your hands, paint a basic snowflake shape, starting in the middle and going out in 6 'branches'.

3. At the end of each 'branch' do two smaller lines coming out both sides.

4. Do white dots on all the other nails

Pink Patterns

Hello! This is a pink themed nail with different patterns.

You will need 

  • White polish
  • Light pink polish
  • Bright pink polish
  • Nail stickers/gems


1. Paint your thumb and middle nail white

2. Paint your little finger nail bright pink and your other 2 light pink.

3.Paint the V shapes on the thumb nail using the other shades of pink.

4. Paint stripes of bright pink on the index finger.


5. Paint a few light pink dots on your middle finder, and go round parts of the edges with the bright pink to make the leopard print.


6. Use the nail sticker/gem on the ring finger. I bought mine in a £1 set in primark.

7.Paint white dots on the little finger.


Thursday 6 November 2014

Purple/White


   Hello! :) For this look you will need:
  • White polish
  • Purple polish - I used Rimmel Velvet Matte


You will also need a dotting tool/thin brush/toothpick.


1.Paint the ring finger white

2. Paint the others purple

3.Paint the ends of your nails in the opposite colour.

4. Paint dots in a slight curve, using the opposite colours to the base area.


Saturday 1 November 2014

Halloween Nails


Happy halloween! 
Just thought id share my nails! :) 

You will need, red white and black polish! :)

1. Paint the thumb, middle finger and little finger white
2. Paint the other two fingers red
3.copy the designs!

Friday 24 October 2014

Bohemian Blue

 Hello! Today ive done blue/gold nails! Ive called it Bohemian as that is the shade of blue i bought from Revlon.


You Will need: 

  • Blue
  • Gold
  • Glitter polish (preferably green,blue & gold)


1. Paint your ring fingers gold

2. Paint your other nails blue

3. Paint over your thumb index and little fingers with the glitter.

4. Use a thin brush/Toothpick to use the gold to do the details on the middle finger and thumb.


Friday 17 October 2014

Cow Nails!


Hi! Today i have Cow themed nails to share with you! :) 


You will need: 

  • Black polish
  • White polish
  • Pink polish


1. Paint all nails white.

FOR THE THUMBS

1. Paint black blobs over the nail to make the cow print

FOR THE FINGERS

1. paint the ends of your nails pink.

2. Paint two black dots on the pink for nostrils, and two black dots on the white for eyes.

3. Paint black blobs over the cows face.


Ombre - White to pink

Hello!
Ive been trying out a new technique, Ombre. It takes some practice, but i finally came up with this! 


You will need: 

  • White polish
  • Light pink
  • darker/brighter pink
  • 1 make up sponge
However, you can do this in any colours.

Also, it may seem pointless to use white on white, but it helps it blend


1. Paint all your nails white.

2. Wet your make up sponge, so the colour doesnt completely absorb before you can put it on!

3. Paint a line of each colour on your sponge, from the lightest to the darkest.


Note: You just do this one at a time, ignore my sponge, it was after i had done all my practices.

4. Sponge it onto the nails. Repeat until the colour has built up enough! 
On your ring finger, you can do the pattern in reverse. 


Thursday 9 October 2014

Pink Manicure

This is a girly manicure, which will stand out but is still simple.


You will need:
  • Pink(1)
  • Dark pink (2)
  • White (3)


1. Paint a triangle shape in pink(1), starting from the lowest point in the 
middle of the nail, to the highest at the side of your nail.
Do this on your thumb, and middle, and ring finger.

2. Using the dark pink(2), do a similar shape in the opposite direction, slightly overlapping in the middle.

3. Followly the light pink triangle, do a trail of white dots over the top.

4. Paint your index finger dark pink, and your little finger light pink.

5.If you want extra detail, do a trail of white dots down the sides of the plain nails.


Cup Cake Cute!

Hello! This week, Ive done cupcake themed nails!


You will need:
  • Bright pink (Preferably a nail art pen/brush) (1)
  • White Varnish (preferably a nail art pen/brush) (2)
  • Light/Pastel Pink (3)
  • Pink (4)


Then, paint your thumb and middle finger nails in the Pink varnish(4), and the other three with the light/pastel pink varnish(3). 
Do this on both hands.

Once dry, follow the instructions below to decorate.


1. For the thumb, use the white(2) to draw 3 small hearts.

2. Use the Bright pink(1) thin brush to create small flicks, starting at the base. Then add a small gem.

If you dont have the right brush, you can just do spots of the bright pink.

3. Use the Pastel pink(3) nail varnish, do 3 thick lines. 


4.For the cupcake, draw small pink(4) lines, on the bottom half of your nail. This makes the cup cake case.
Then, using the white, paint a cloud/roundish shape in the middle of your nail.
Put small bright pink(1) dots over the white, and one larger one on top.

5. Use the white to paint small dots over the nail.